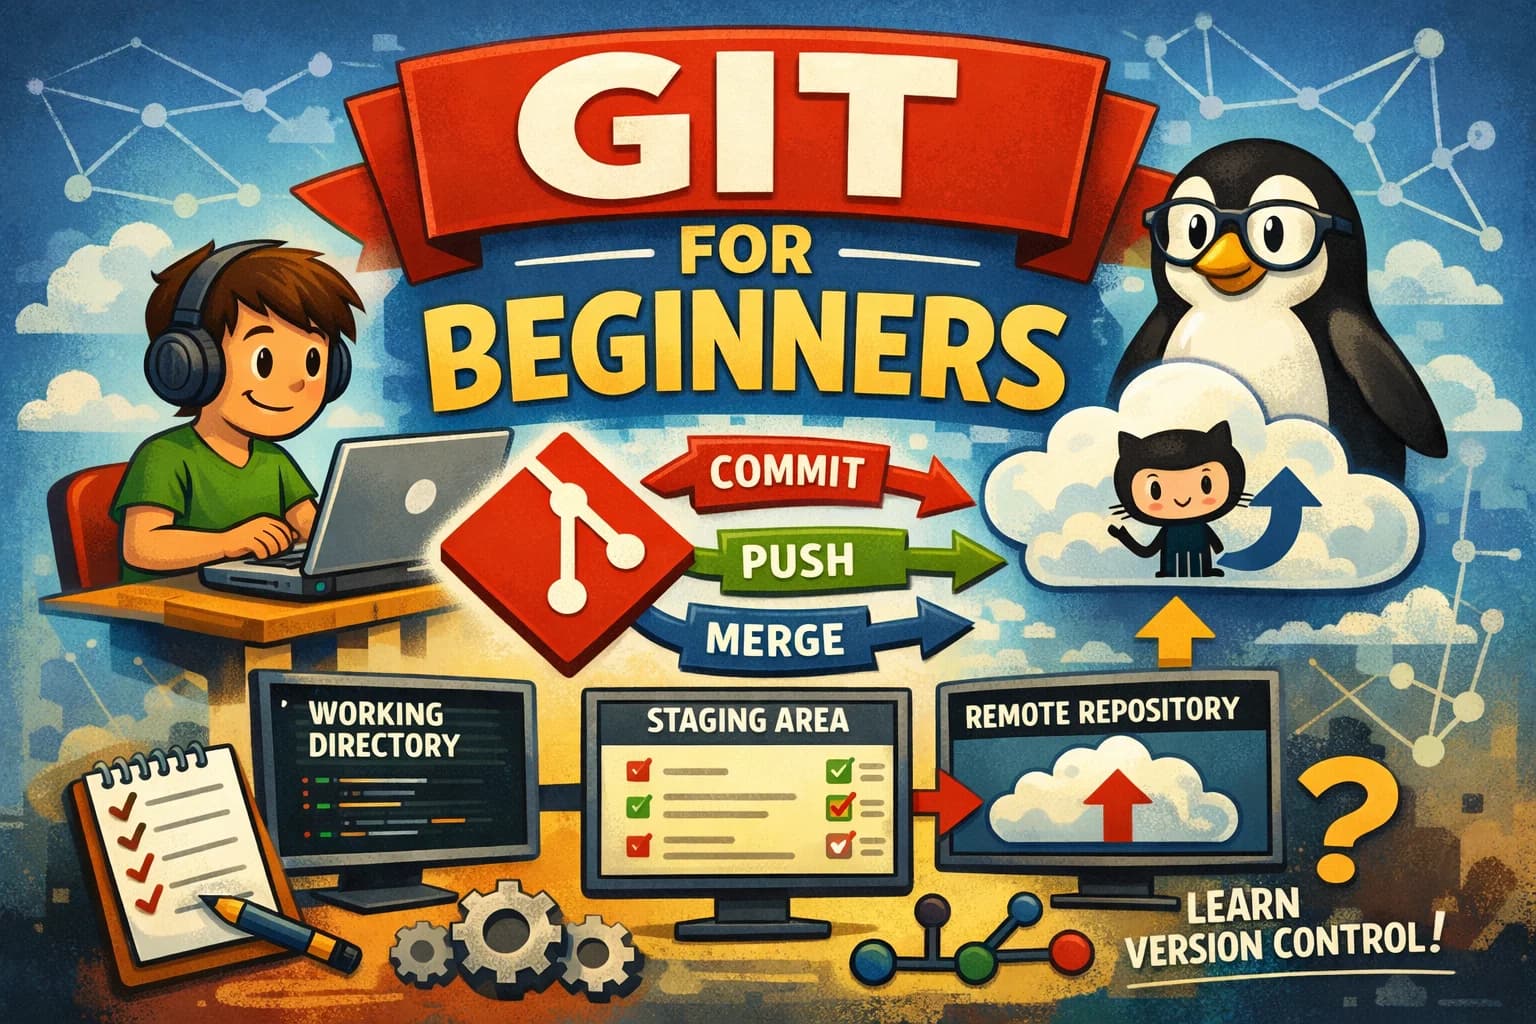
Git for Beginners: Basics and Essential Commands
Learning web development in public. Writing simple, real-world explanations about web development concepts. Helping beginners understand why things work, not just how.
Introduction
In the journey of software development, you must have heard the name of Git and GitHub and if you haven’t then you soon will. When we need to control the versions of code for many reasons, we often look for sophisticated and yet simple version control system to easily manage and track the code files. In this article, I will walk you through Git and GitHub in simple words and steps.
Git is one of the most popular version control systems. Git and GitHub are different. Git is the software while GitHub is a hosted service. It was created by Linus Torvalds in 2005.
We use it to:
Track code changes
Track who made changes
and for collaborative coding
Basic Terminology
Repository: A folder that tracks a projects and its history. In other words a container that holds all your code.
Clone: Make a copy of a remote repository on your computer.
Stage: Tells Git which changes you want to save next.
Commit: Save a snapshot of your staged changes.
Branch: Work on different versions or features at the same time.
Merge: Combine changes from different branches.
Pull: Get the latest changes from a remote repository.
Push: Send your changes to a remote repository.
Git Setup and Basic Commands
You can install Git from its official website.
Your name and email are linked with your commits so it is always recommended that you set up your configs on the GitHub by creating the account and set up Git on you computer.
To set up the username and email in computer, use these commands:
git config --global user.email "your-email@example.com"
git config --global user.name "Your Name"
to check your configs run this command:
git config --list
This will show you all the settings that you have changed.
Git Flow
Before moving to common commands, let us go through Git flow to deepen our understanding of Git.
┌────────────────────┐
│  Edit files/       |
|  create files      │
│  (code, README)    │
└─────────┬──────────┘
          ↓
     git status
          ↓
┌────────────────────┐
│  git add           │
│  (stage changes)   │
└─────────┬──────────┘
          ↓
┌────────────────────┐
│  git commit        │
│  (save snapshot)   │
└─────────┬──────────┘
          ↓
┌────────────────────┐
│  git push          │
│  (send to GitHub)  │
└────────────────────┘
Tracked and Untracked files
An untracked file is any file in your project folder that Git is not yet tracking. These are files you've created or copied into the folder, but haven't told Git to watch.
A tracked file is a file that Git is watching for changes. To make a file tracked, you need to add it to the staging area.
Git works in 4 stages
Working Directory
      ↓
Staging Area
      ↓
Local Repository
      ↓
Remote Repository (GitHub)
Now let us move to the most common Git commands:
To create a repository, run these command. Here it is always recommended that you check the status of the code folder just to make sure that it is not already initialized.
git status
git init
Git creates a hidden folder called .git inside your project.
This is where Git stores all the information it needs to track your files and history.
Example: Show Hidden .git Folder (Linux/macOS)
ls -a
.  ..  .git
On Windows, you may need to enable "Show hidden files" in File Explorer to see the .git folder.
After you are done writing code in the files, you have to add the files:
git add <file1> <file2>
to add all the untracked files at once, just do:
git add .
then you have to commit the changes in git with a meaningful message in the present tense (imperative) like giving an order to the git.
git commit -m "message"
You can always go back to a previous commit if you need to.
Here are some key commands for commits:
git commit -m "message"- Commit staged changes with a messagegit commit -a -m "message"- Commit all tracked changes (skip staging)git log- See commit history
And finally, use git push to push the code to GitHub:
git push
To Sum Up
In this article we have learned about what git is, its basic commands and terminologies, git flow and its four stages along with the command code. We have also learned to set up the git and config it. We also learned how to add files, stage changes, commit them, and finally push them to GitHub.